Keep the trace of this tutorial so that you can make your own device's
homepage (Java applet and a HTML page which contains the applet) or dedicated
Java application on the fly.
This section shows a detailed procedure of building an applet (or application) from launching
HelloDevice IDE to finally making a custom applet (or application).
HD1100 is a digital I/O control device via TCP/IP. which provides 16bits of input and 16bits of output interfaces and is able to work as a web server. You can access the device both via the Java applet or the dedicated Java application that will be the final products of this sample.
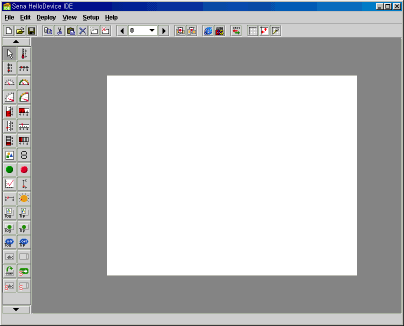
Launch HelloDevice IDE

Put Label in the design panel
![]()
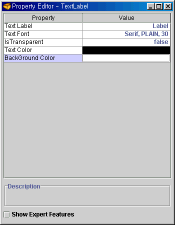
Double click this component to popup its property editor.

Change its property values as following.

Now, the Label looks
![]()
Put Green/Red LED components in the design panel.
![]()
Make grids visible and snap on by toggling grid/snap button in the tool bar.
![]()
Rearrange LEDs in a row.
![]()
![]()
Modify component's property so that these components can display
HD1100's I/O status properly.
Assign m16 ~ m19 to each LED so that LEDs can display input bits 16~19 of HD1100.
Note : m0~m15 is device input only. Unable to control from the applet.
Assign m16 to the first LED's "Value Expression" field and do the similar
way(m17~m19) for the other components.
![]()
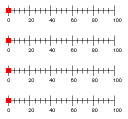
Put 4 HorizontalLinearGauges in the design panel.

Change the following properties to 1 with the order and resize components'
size by holding components' edge point.
property change order : MinorTickSpacing -> MajorTickSpacing -> MaxValue.
(This order is given because each property's values are relatively restricted.)

Now, the gauges look.

Assign m20~m23 to each HorizontalLinearGauge's "Value Expression" property.